Palworld Mods Installation Explained: A Step-by-Step Guide with Vortex
Currently, the game does not support Steam Workshop, making mod installation a bit more complex. However, using a mod manager simplifies the process considerably. This article primarily focuses on using Vortex, a mod manager that facilitates the easy management and installation of mods. Besides using a mod manager, mods can also be installed manually by copying files. Some mods may not be compatible with Vortex and require manual installation, but compatible ones can also be installed manually if desired. I recommend using Vortex for mod installation as it is more convenient and less prone to errors compared to manual installation.
At the end of the article, there will be recommendations for Recommended Palworld Mods (clickable link to section), focusing on enhancing the gaming experience without disrupting game balance.
Step 1: Install Vortex
Go to https://www.nexusmods.com/about/vortex/ to download Vortex. You need to log in to download; if you don’t have an account, register one. For example, I downloaded Vortex-1-1-9-12-1704709175.exe, install and launch it. Vortex will automatically install some necessary software like Microsoft .NET, which may prompt a confirmation window, just click to confirm.
Step 2: Manage Games in Vortex
After opening Vortex, log in at the top right corner, which will redirect you to a webpage for authorization. Once authorized, you are logged in.
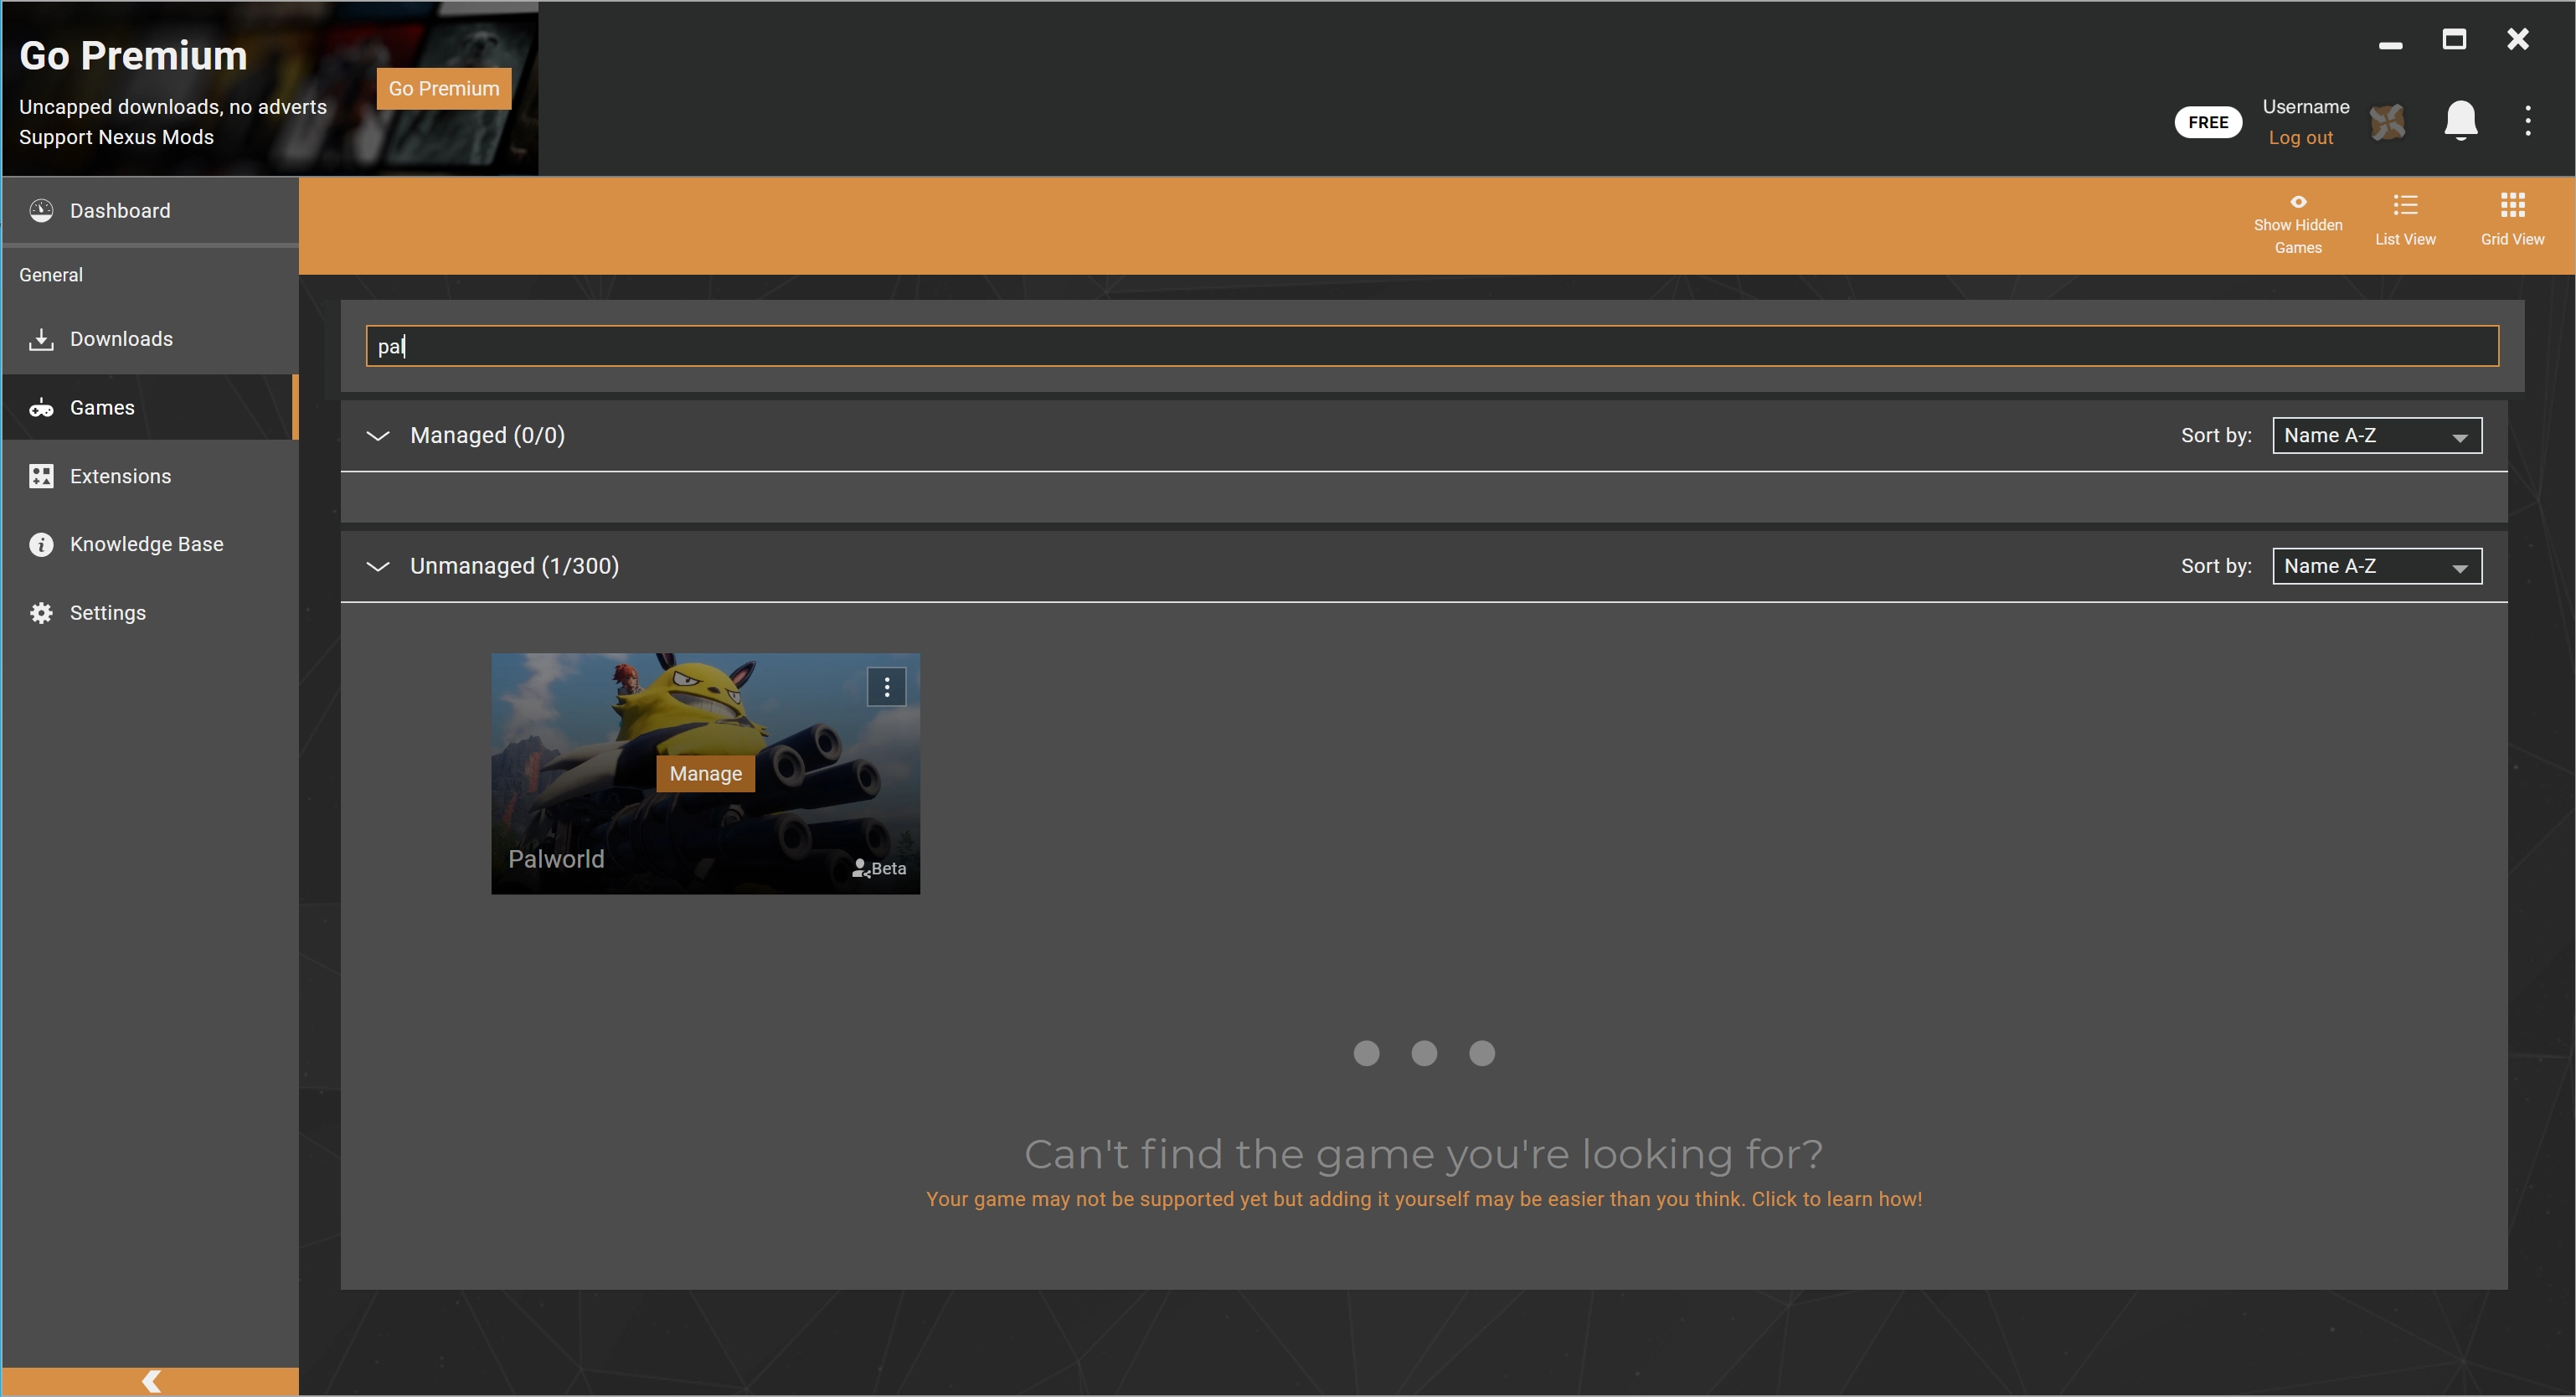
Then click “Games” on the left sidebar, enter “Palworld” in the search box, and the corresponding game icon will appear below. Hover over it to see the “Manage” button and click it. A “Game support not installed” window might pop up, indicating that game support requires installation via an extension. Confirm by clicking the download button,
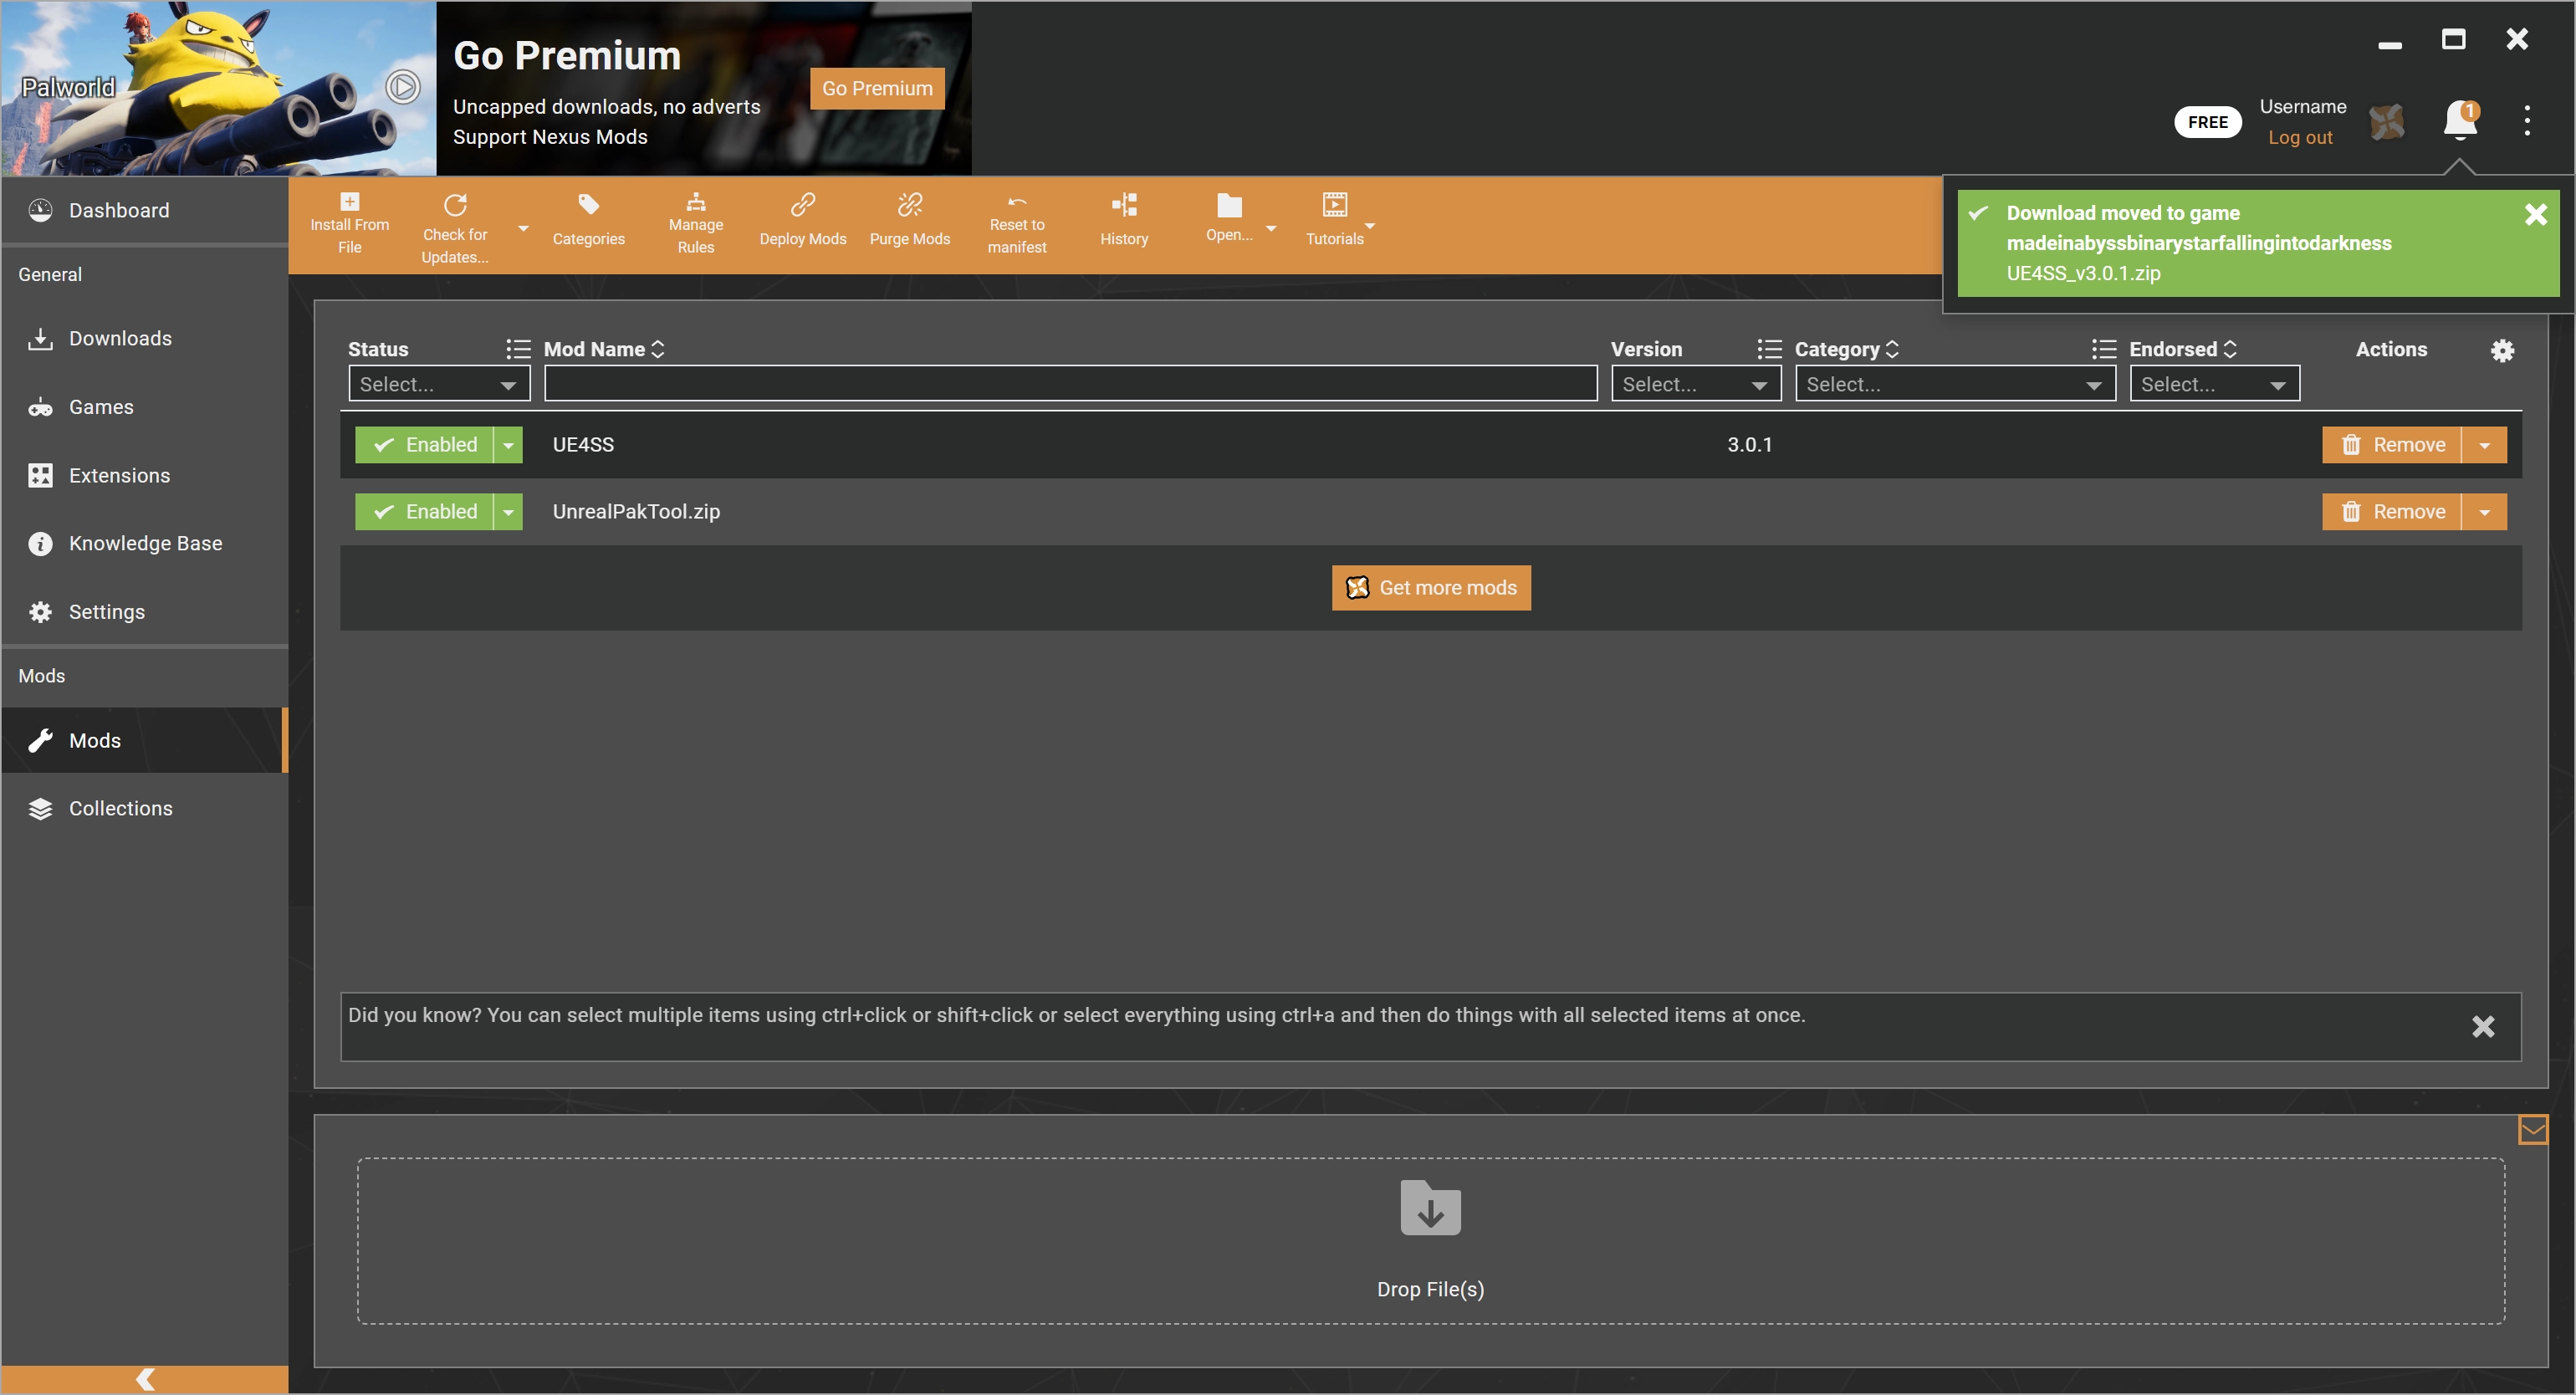
Vortex will restart automatically. After restarting, a window might pop up for manually selecting the game directory, possibly due to incomplete plugin installation. Ignoring this, I could still use it normally afterward. It also completes the installation of basic mod tools, such as automatically installing UE4SS, as shown below:
Step 3: Install Mods in Vortex
Click “Mods” on the left sidebar, then click the “Get more mods” button in the middle,

This will redirect to the Nexus Mods website’s “Palworld” section,
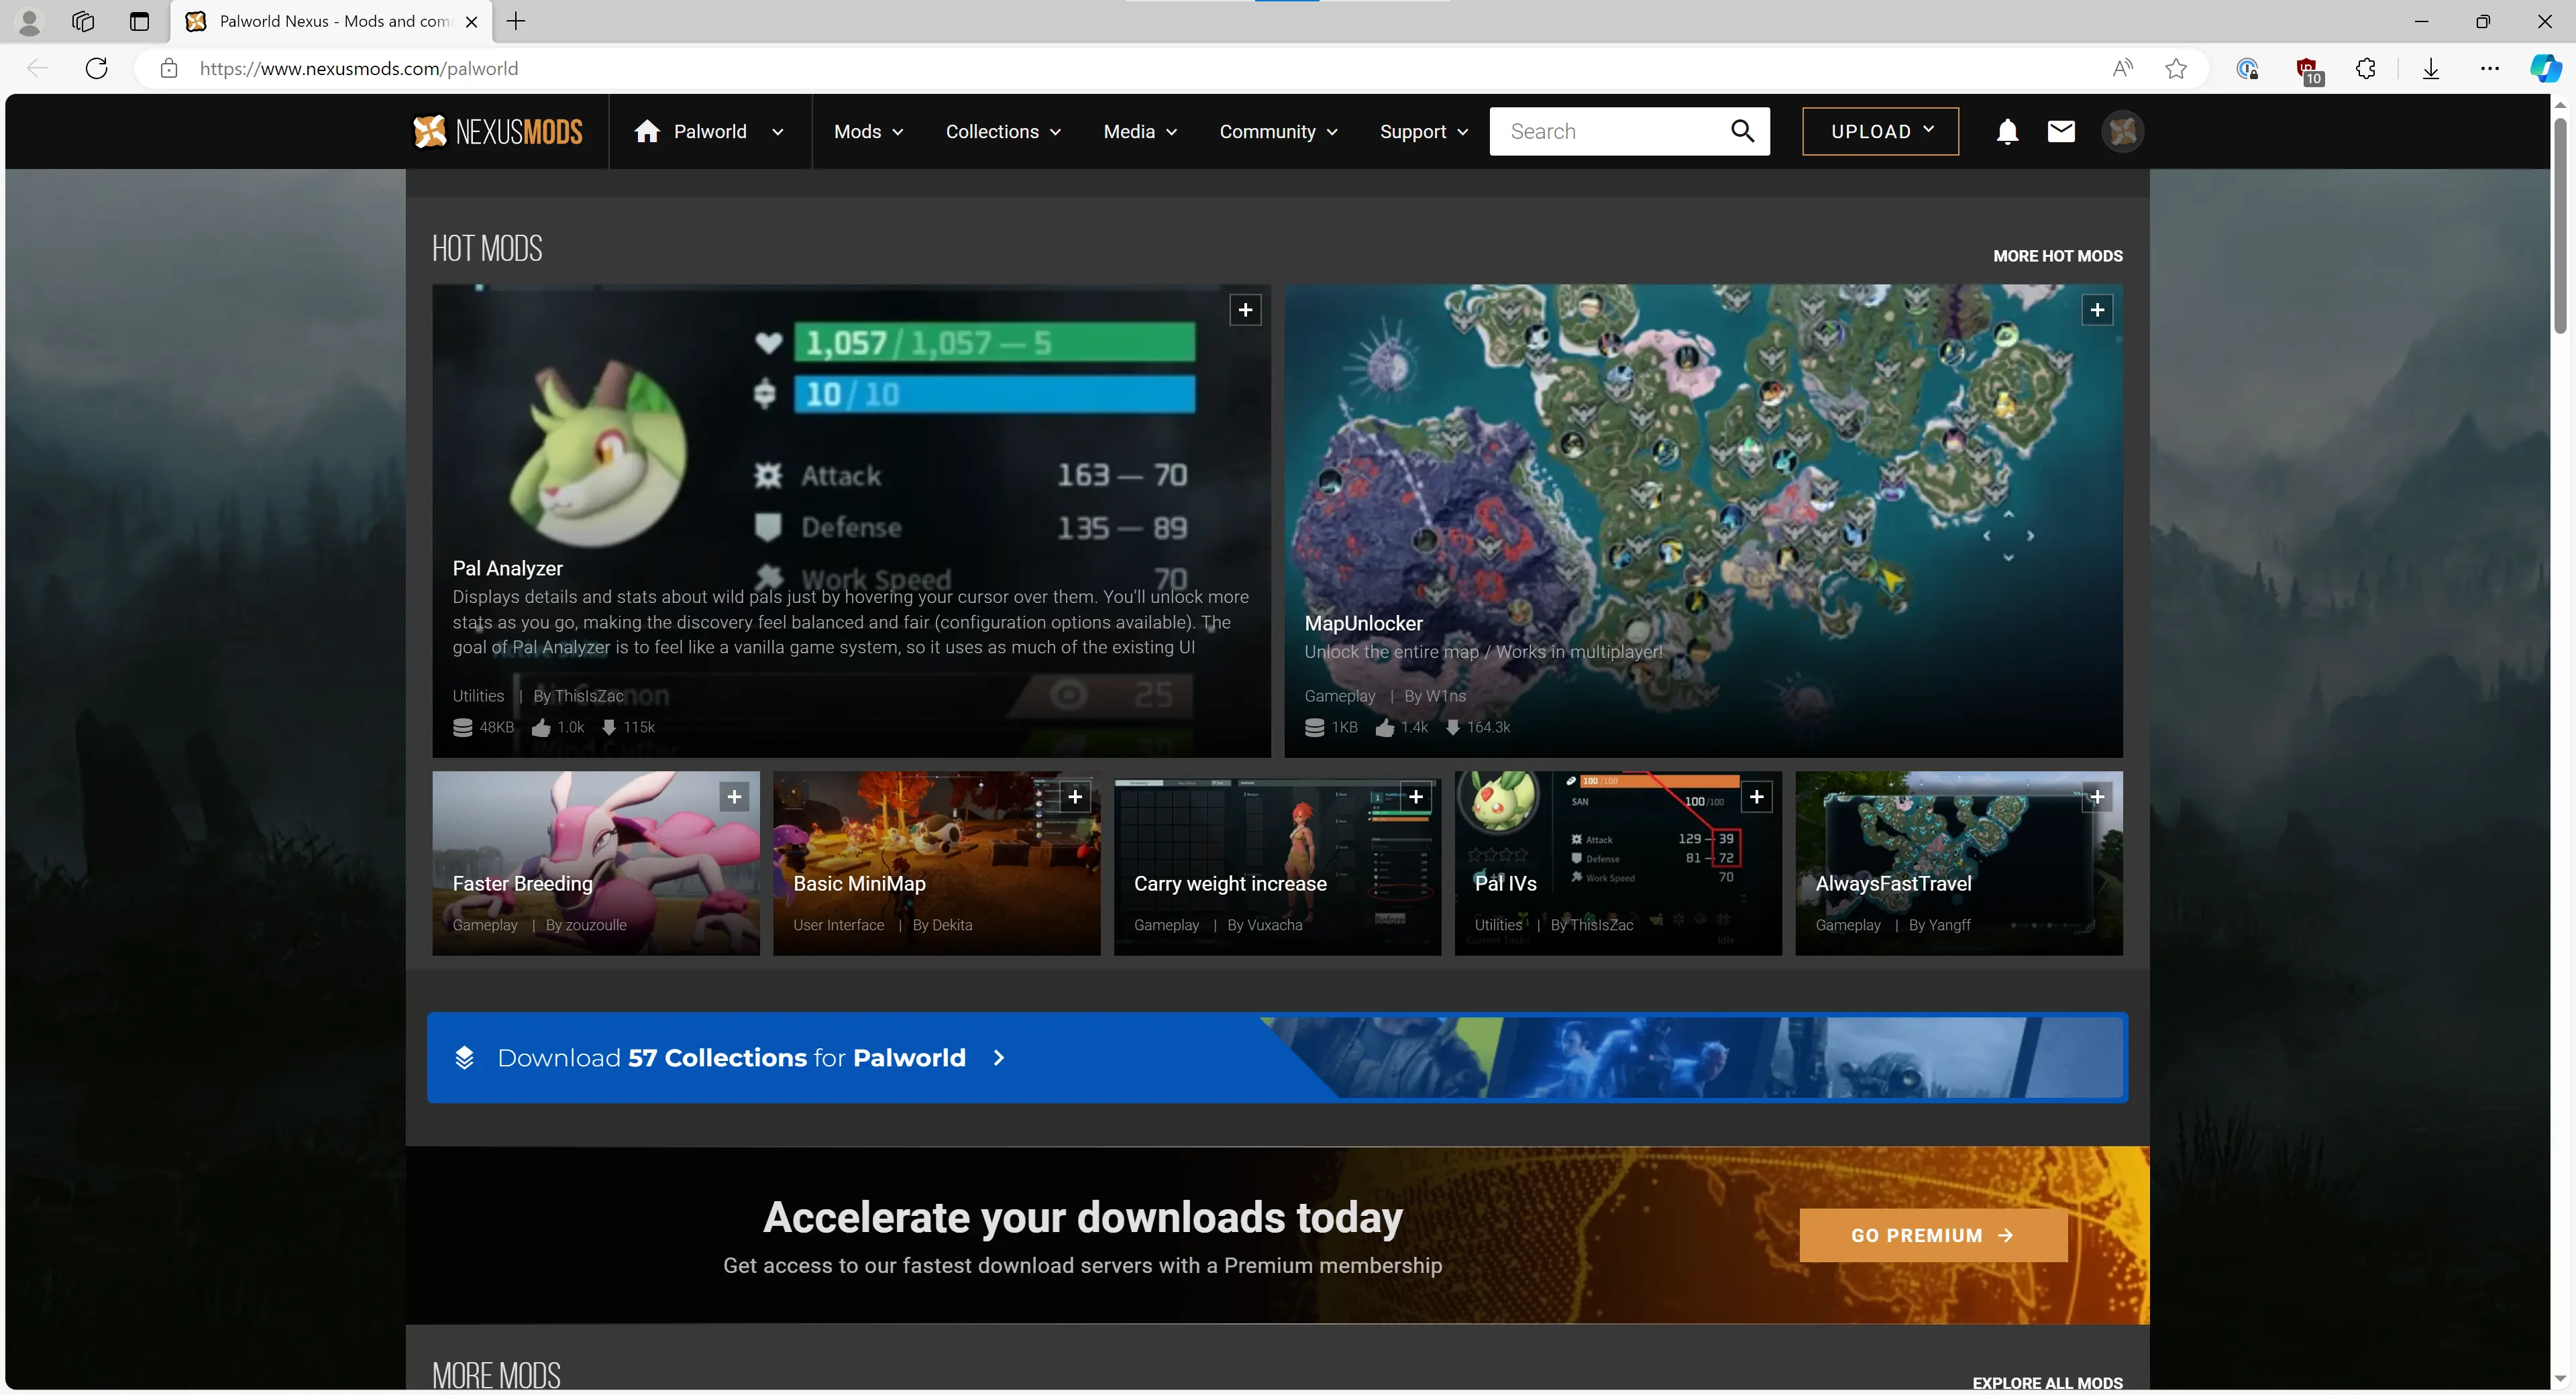
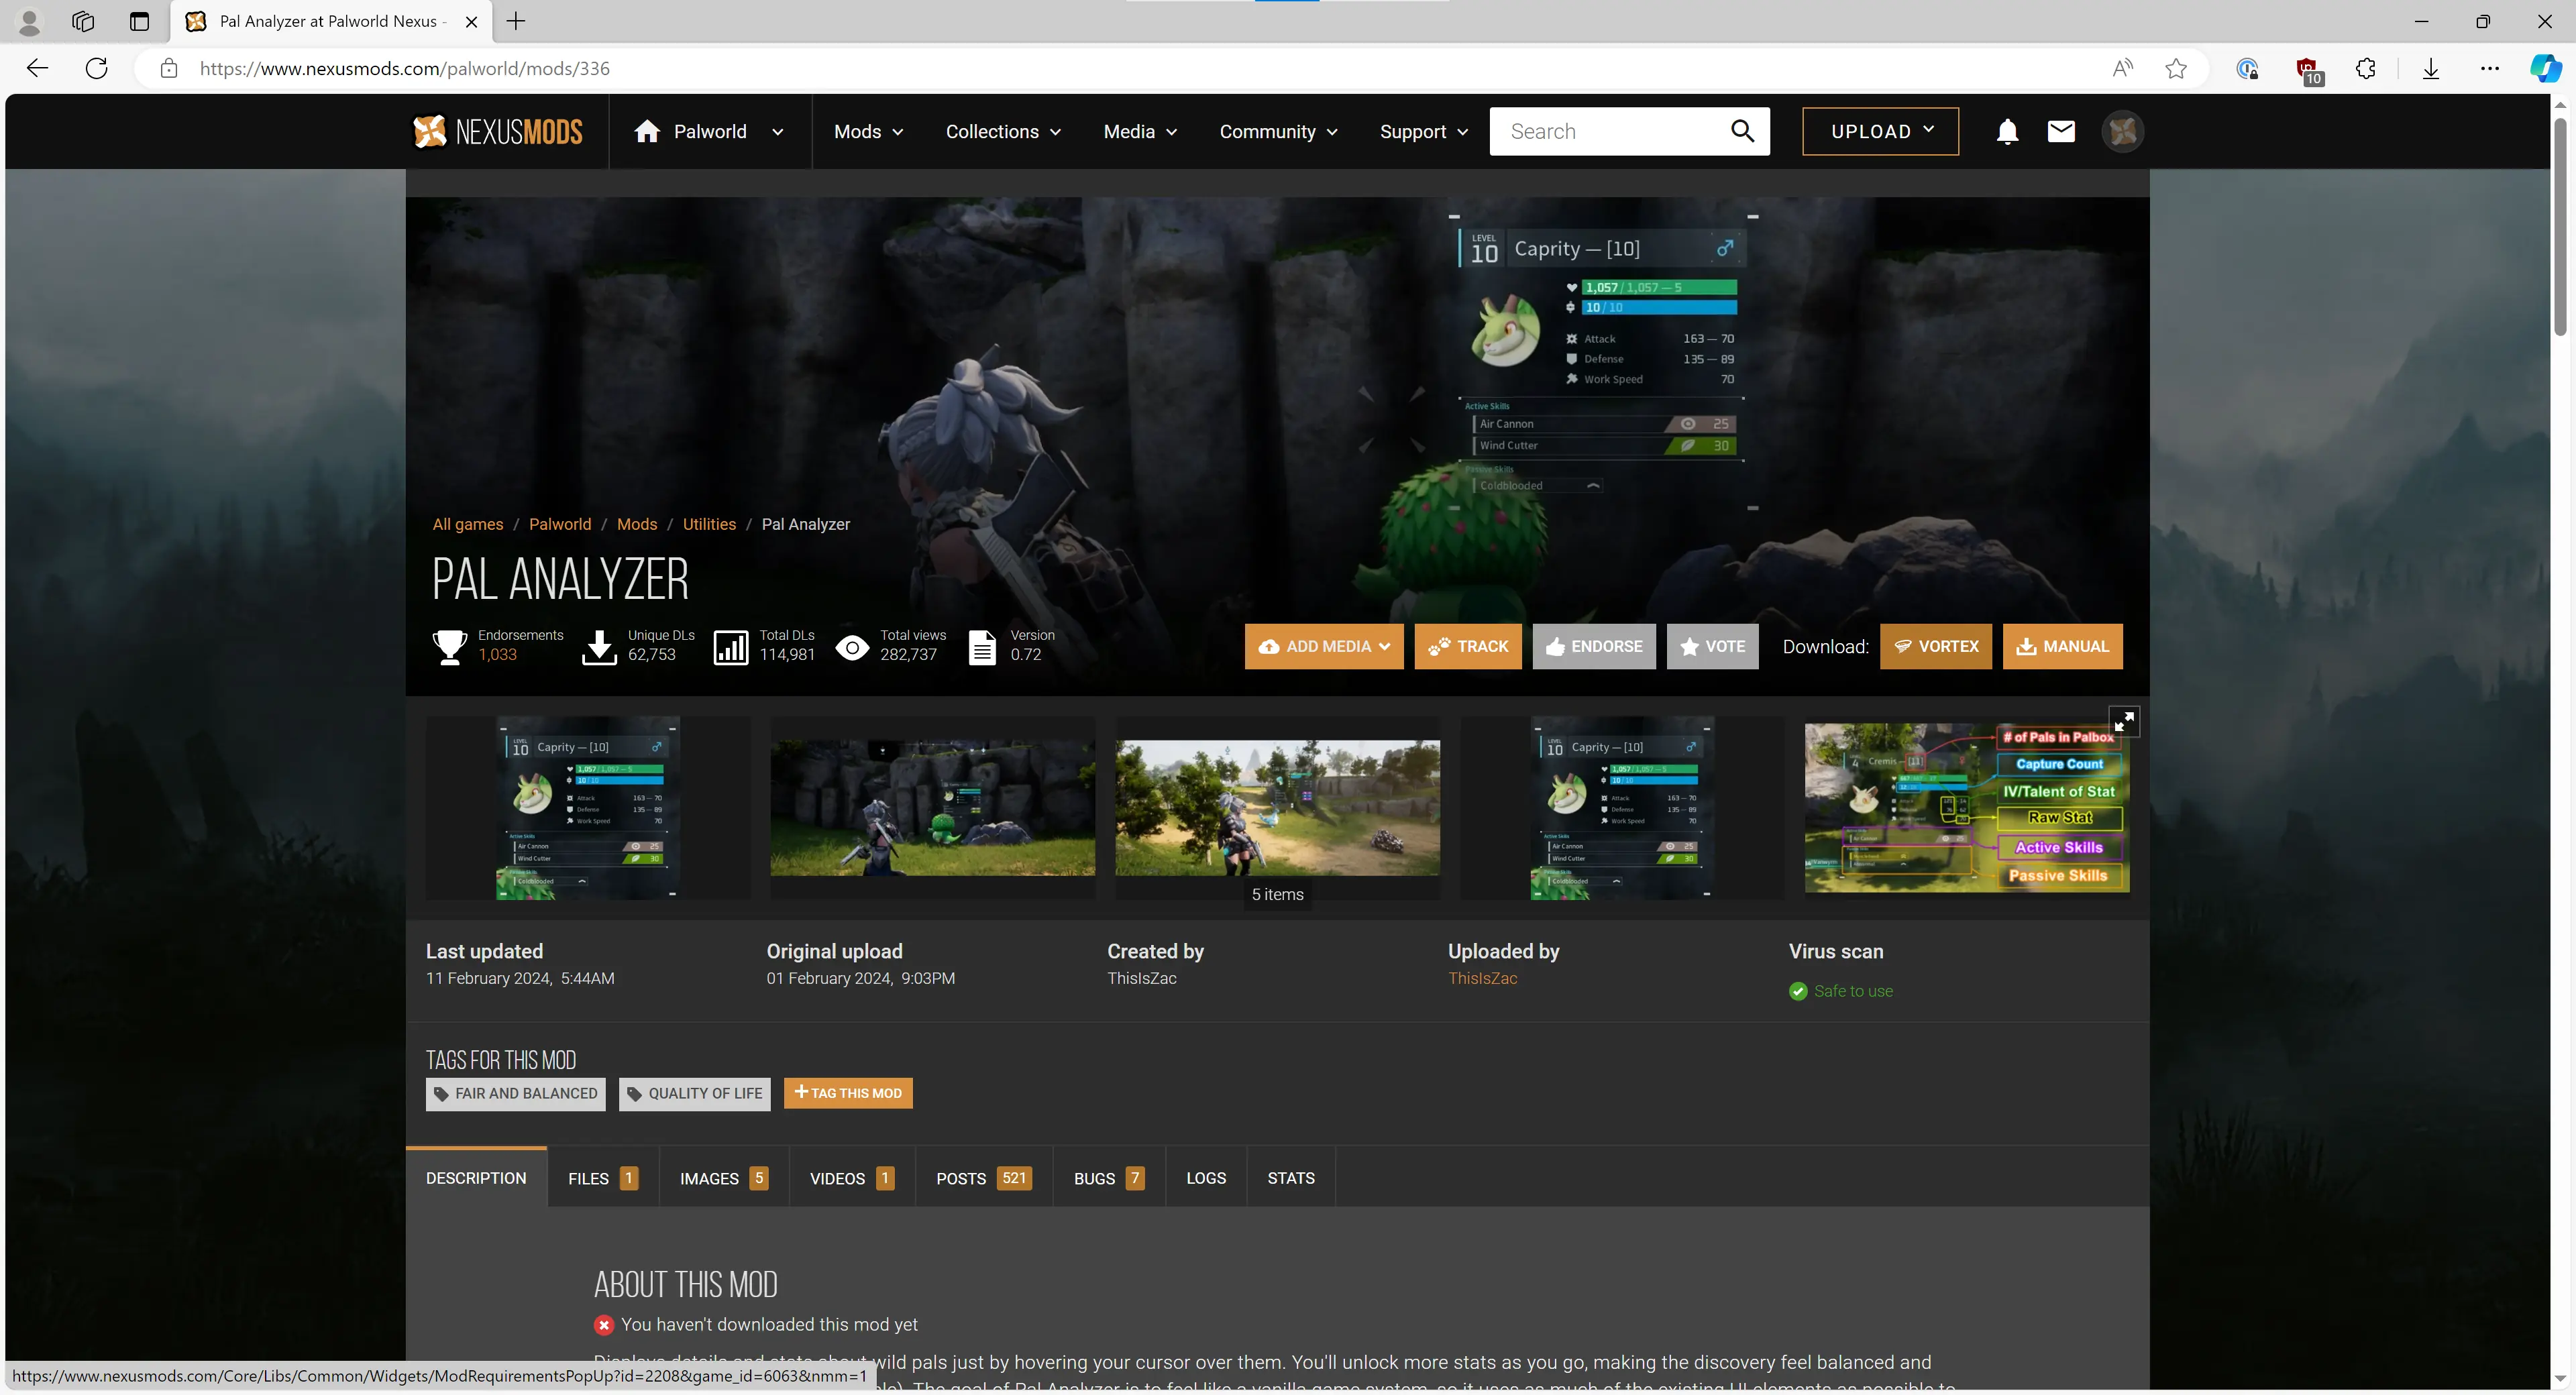
Find the mod you want to install, for example, “Pal Analyzer” mod. On the specific mod page, click the “VORTEX” button next to Download to install (some mods may require manual installation, which is not detailed here; the mod page will have specific instructions),
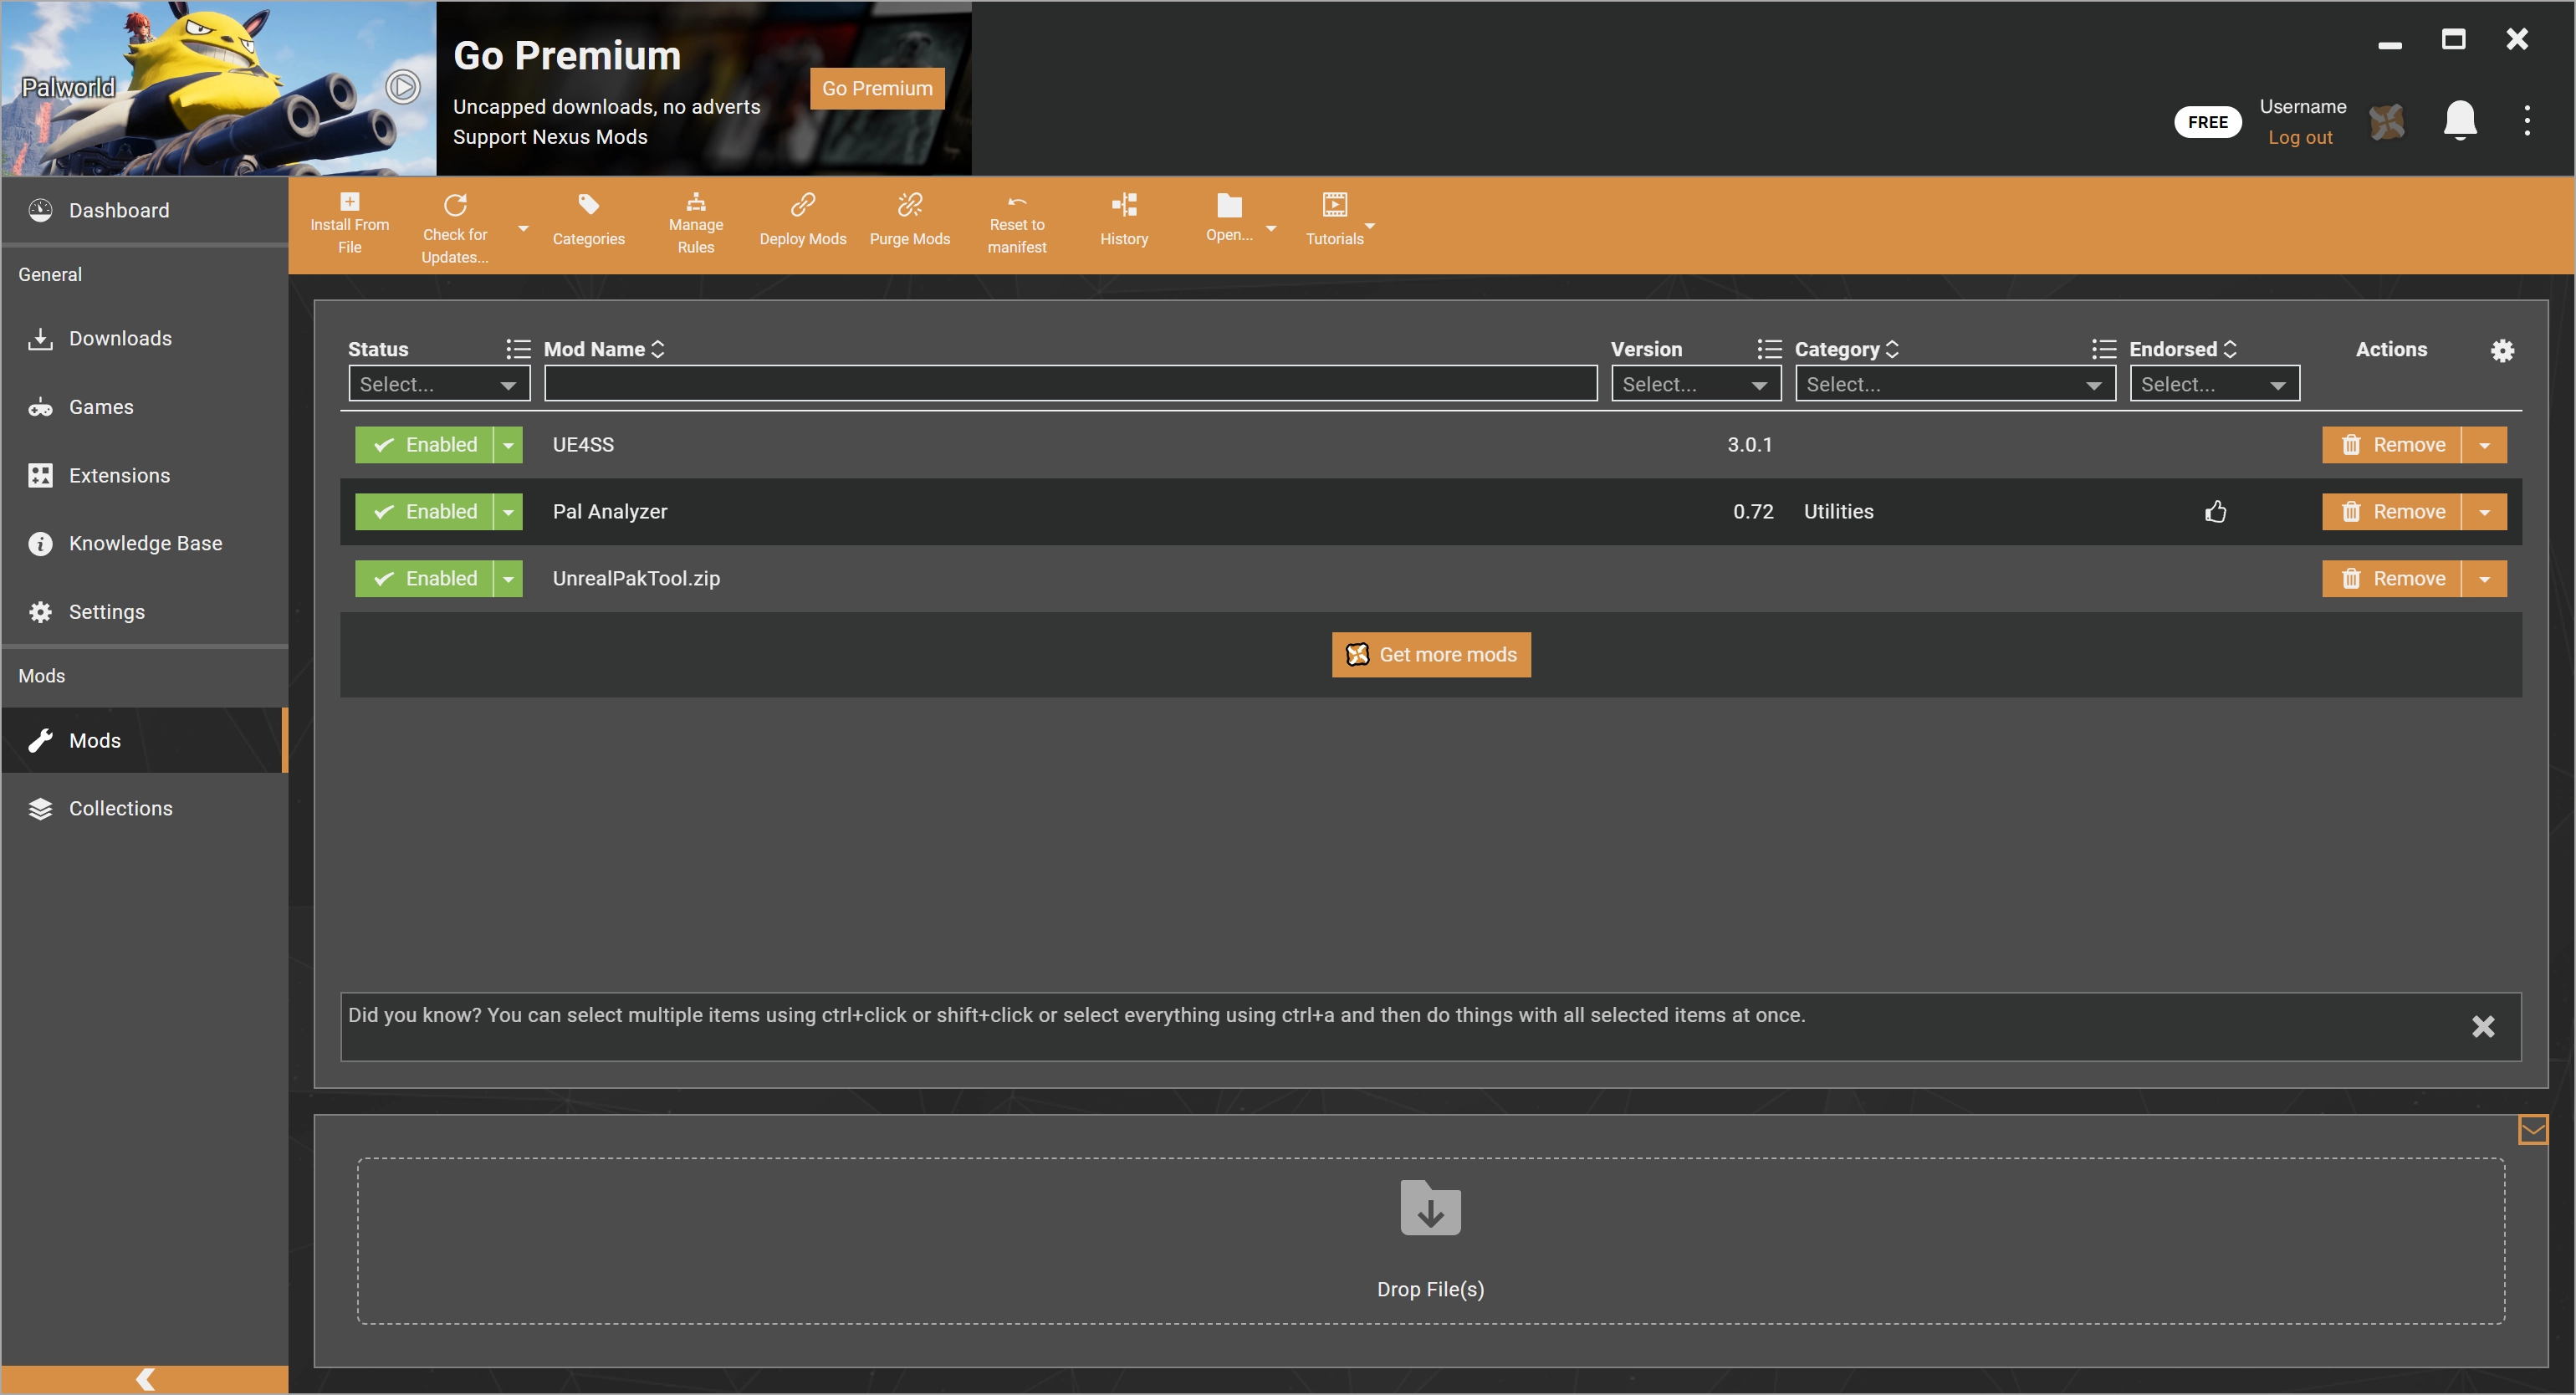
After installation, it looks like this:
Step 4: Configure and Modify Mods in Vortex
This step can be skipped if you do not need to configure or modify mods, and you can proceed directly to Step 5: Start the Game and Play!.
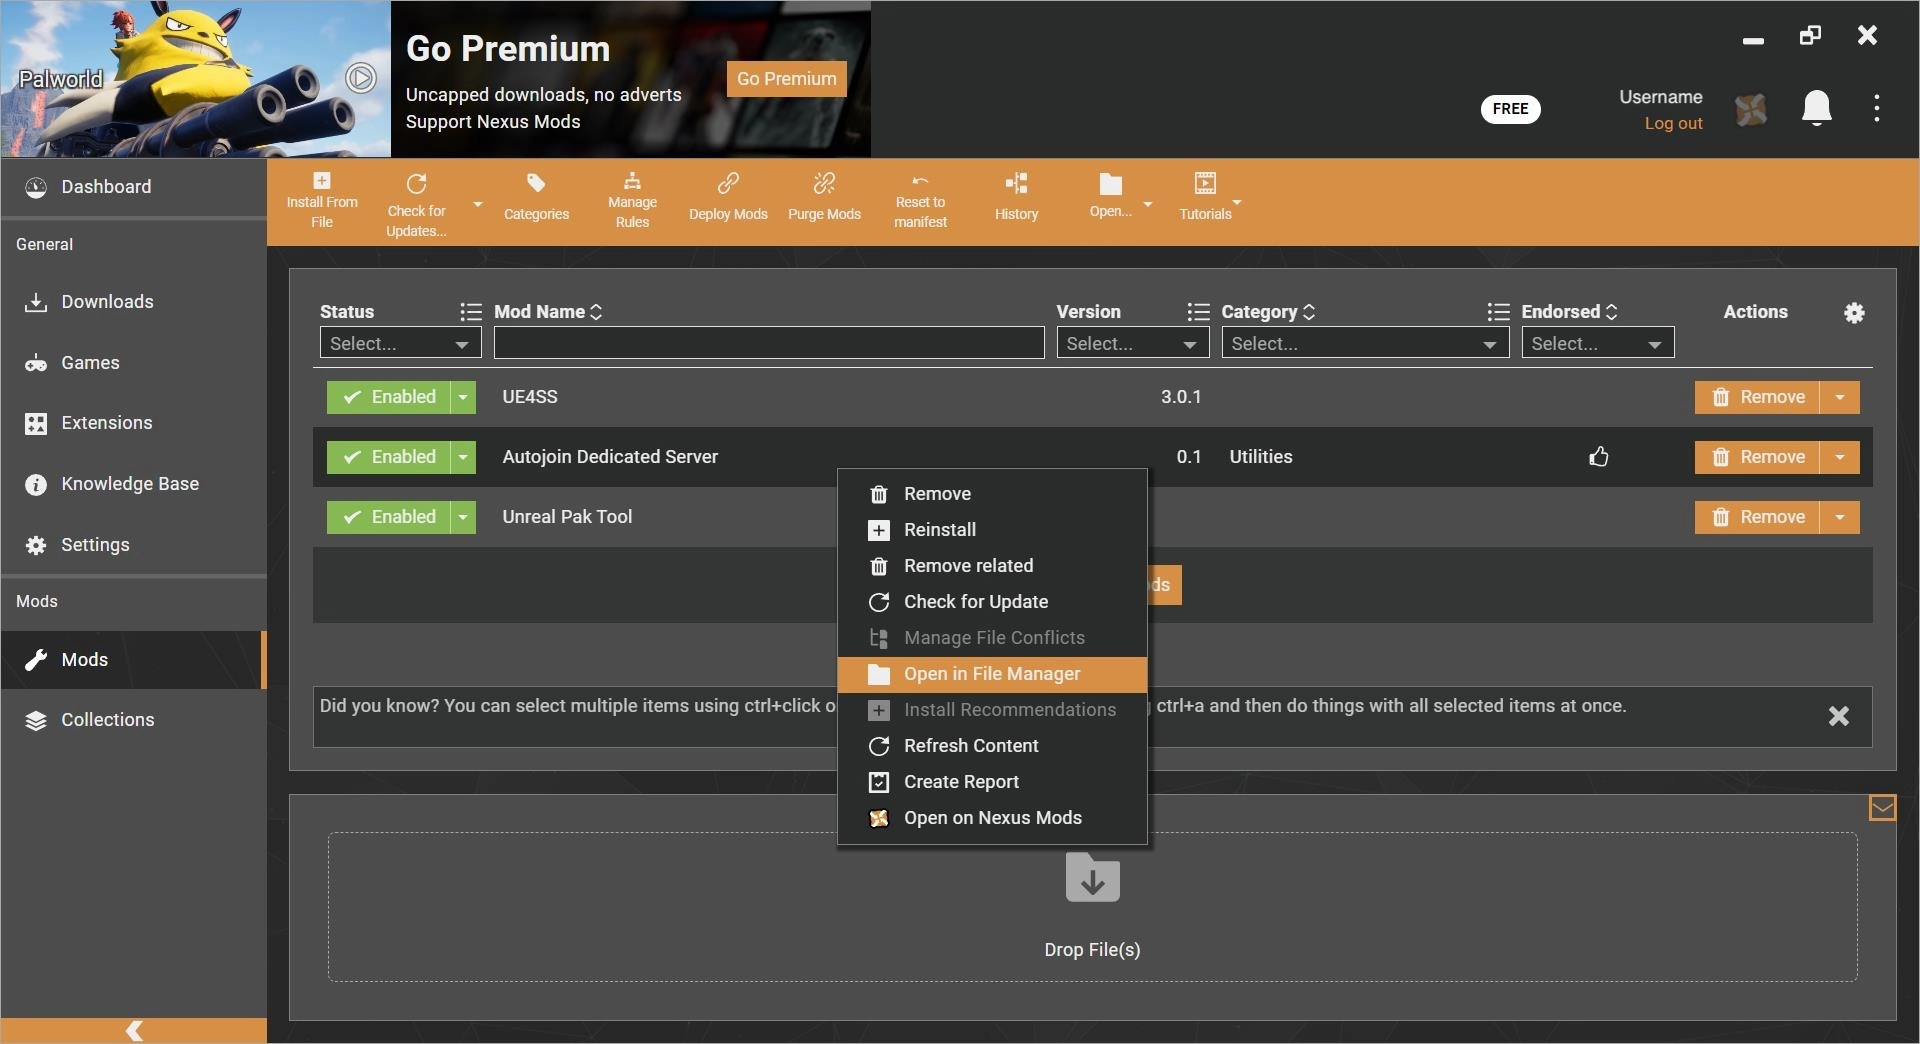
In the “Mods” tab, we can right-click a specific mod and select “Open in File Manager” to enter the mod folder. You can configure and modify the mod as needed; the mod page generally provides instructions,
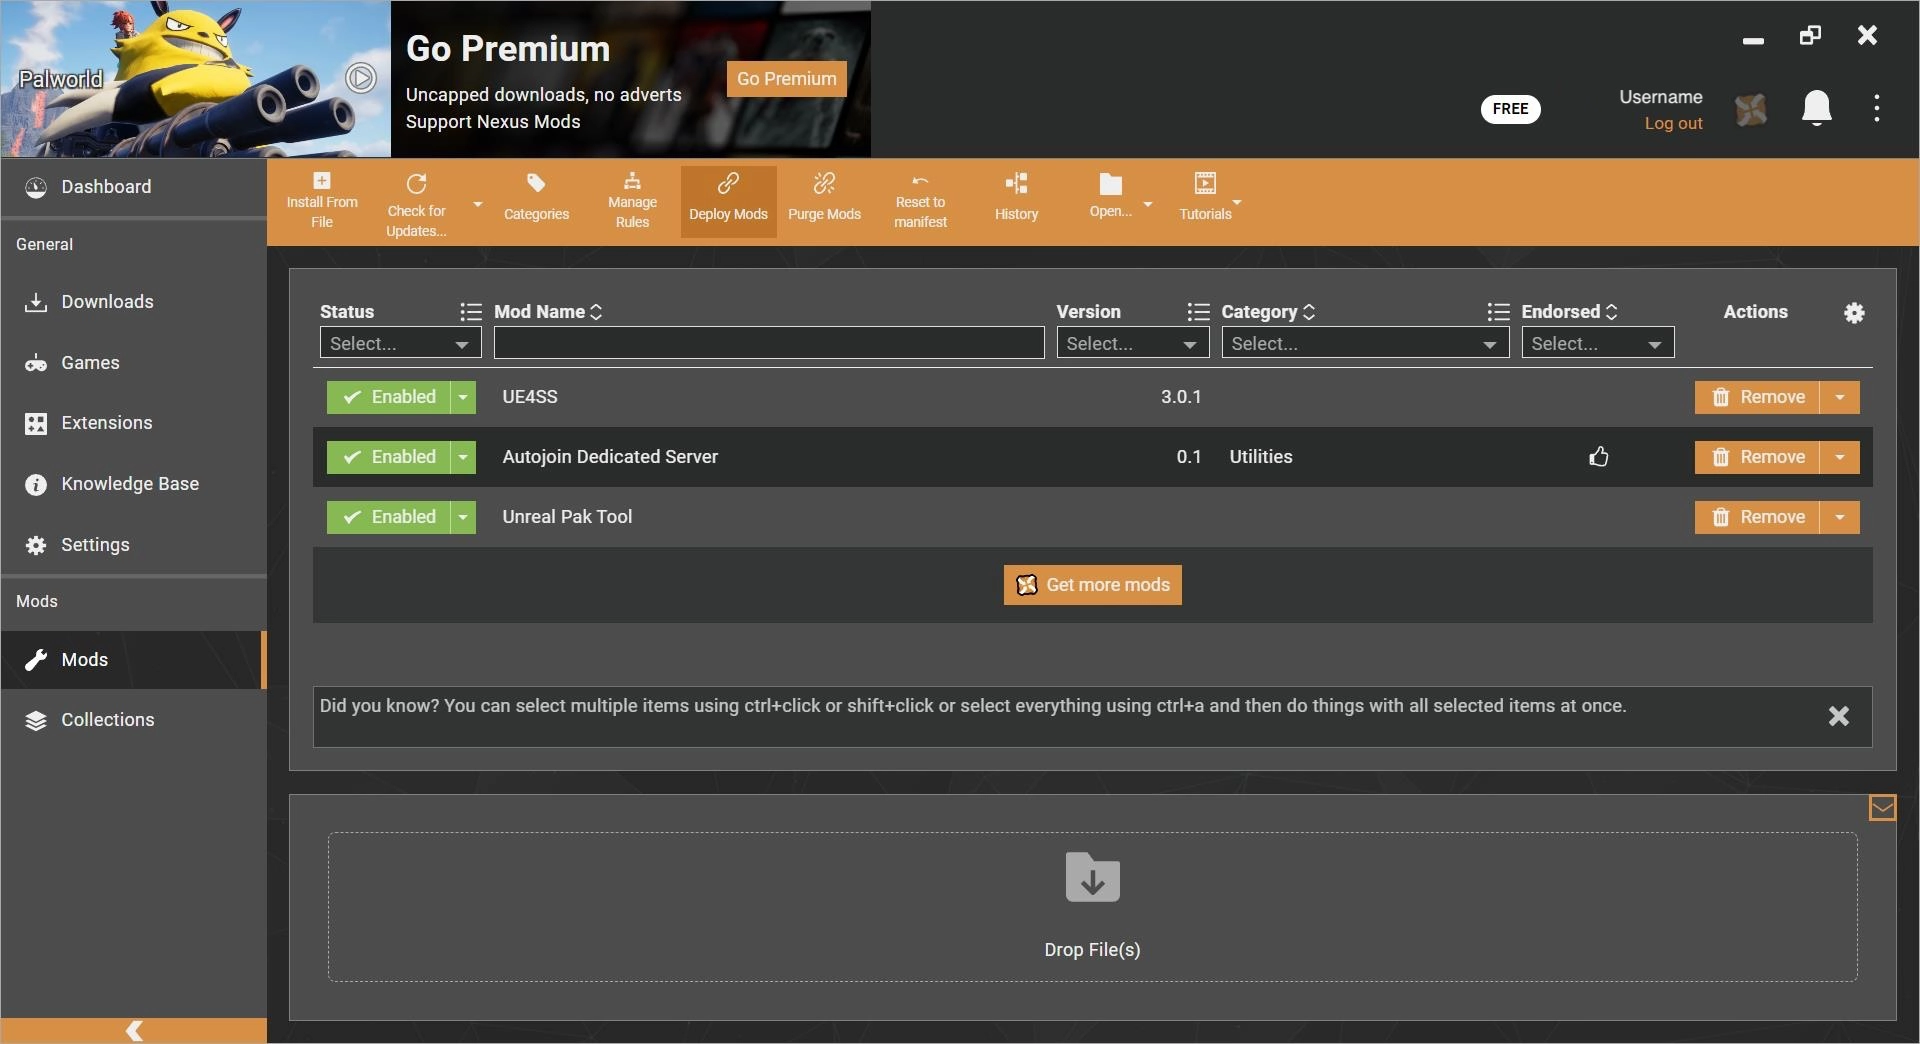
After completing, click the “Deploy Mods” button at the top of the Vortex software (as shown below) to apply these mods to the game (Vortex will automatically copy the mod files to the game installation directory), a confirmation window may pop up during this process, just confirm it.
Step 5: Start the Game and Play!
After that, just start the game as normal. Installing mods is that simple, enjoy your game!
Below is how it looks after installing the “Pal Analyzer” mod, with the controller’s default RB button (the throw ball button) triggering the display.

Recommended Palworld Mods
Pal Analyzer
https://www.nexusmods.com/palworld/mods/336
Displays detailed information about wild pals. It is not recommended for early gameplay to maintain game balance, although the author has considered game balance by showing more content after capturing a certain number of pals. However, this can still disrupt the balance of the game.
Pal Capture Count
https://www.nexusmods.com/palworld/mods/224
Displays the capture count when catching pals. Pal Analyzer also has this feature, but this one is more straightforward and does not disrupt game balance, making it suitable for early gameplay.
Pal IVs
https://www.nexusmods.com/palworld/mods/437
Shows individual values when accessing the Palworld box or selling pals, essential for breeding strong pals.
Basic MiniMap
https://www.nexusmods.com/palworld/mods/146
Adds a mini-map display. Having played games with a mini-map, it feels odd without one. There are quite a few customizable options, such as mini-map position and size.
High Vis Crosshairs
https://www.nexusmods.com/palworld/mods/379
When installed via Vortex, you need to enter the mod folder and delete the extra .pak files, keeping only the one needed. After modifying the mod file, click the “Deploy Mods” button in Vortex.
I play on a handheld, and the game’s crosshair is small and not very noticeable, sometimes hard to see. This mod makes a significant improvement.
Autojoin Dedicated Server
https://www.nexusmods.com/palworld/mods/455
Entering the IP and password for a dedicated server every time is extremely unfriendly and inconvenient for handheld players. This mod allows for direct entry into a dedicated server, which is very convenient.
Faster Hatch Press (instant)
https://www.nexusmods.com/palworld/mods/343
When you’ve hatched many eggs, you’ll find the 4-second long press to hatch pointless, just a waste of time. This mod eliminates that wait time.